What is the door doing with its sensors?
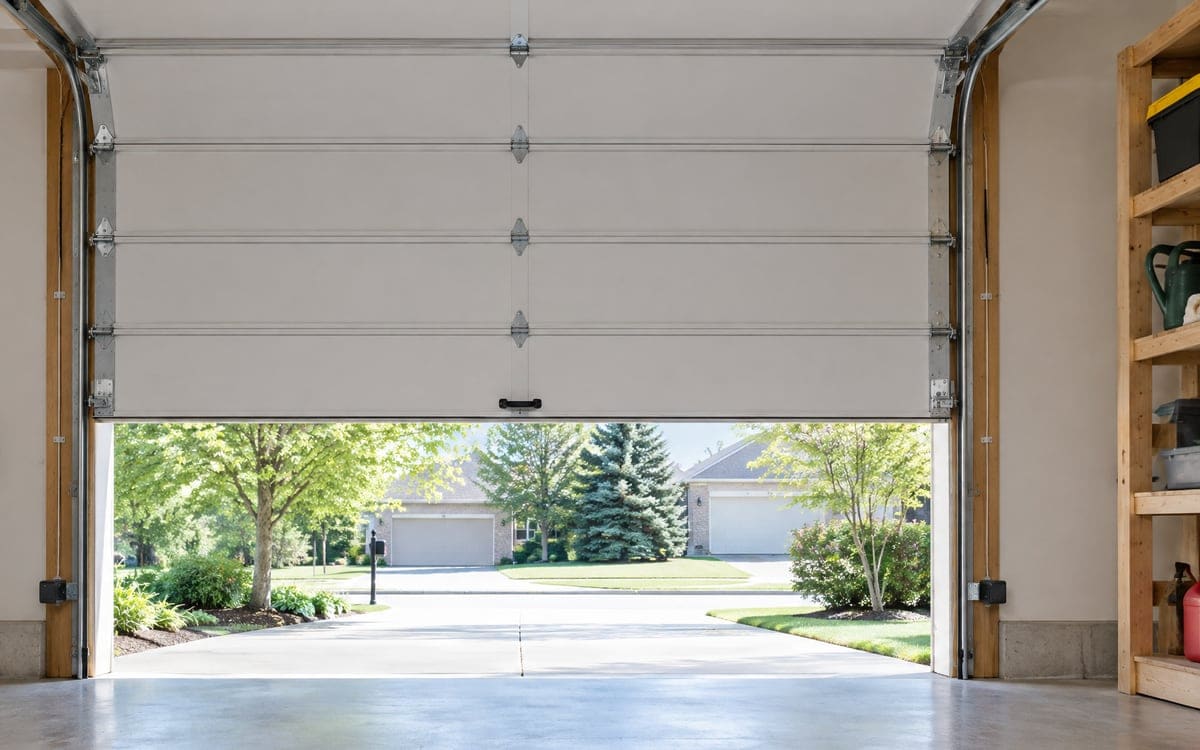
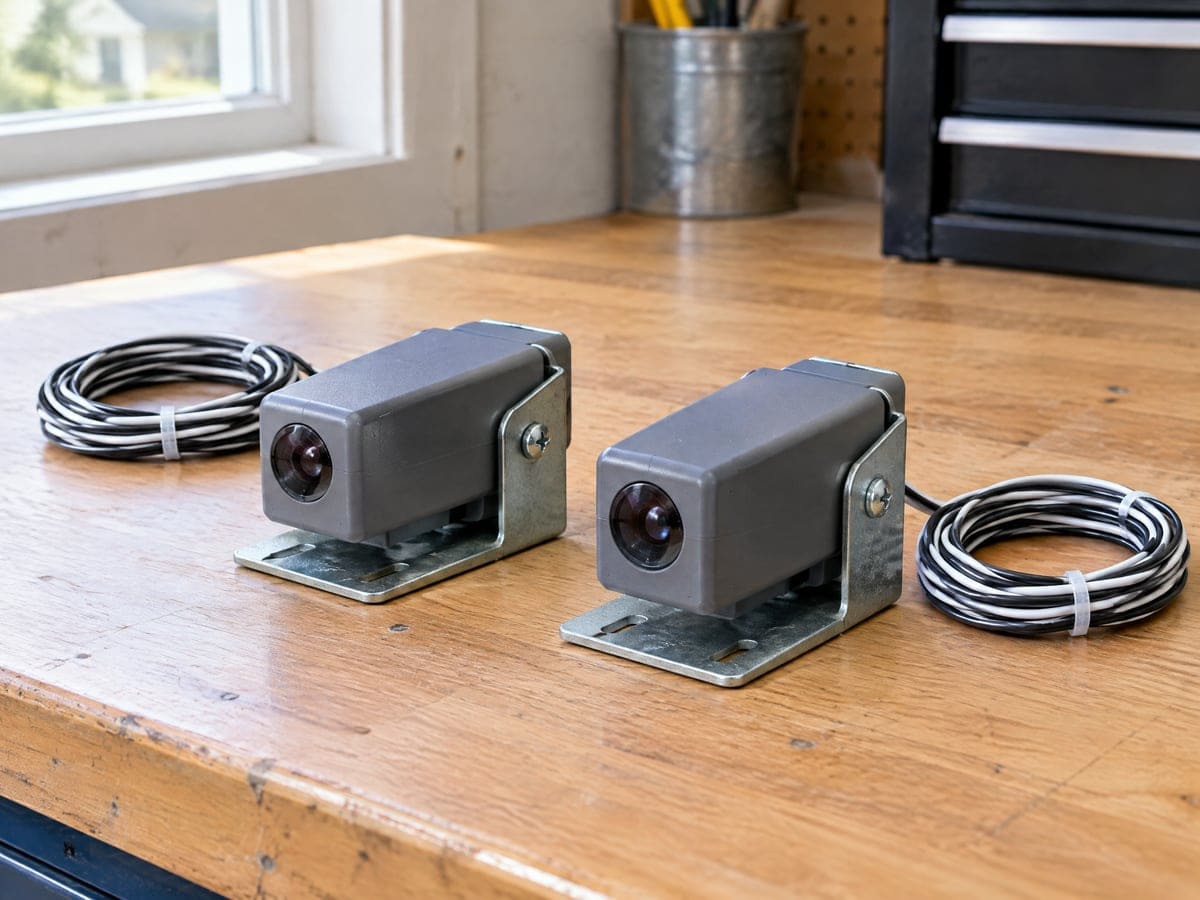
Modern garage door openers have a pair of photo-eye sensors a few inches off the floor, one on each side of the opening. A beam runs between them. If anything breaks it, or the opener thinks something has, the door will not close, or it will close partway and reverse. Our visit starts at those two sensors and works back toward the opener.
1. The indicator lights on both photo eyes
Each sensor has a small LED. On most openers, one color means the sensor is powered and the other means the beam is lined up and clear. One light out, or one blinking, tells us something before we ever touch a bracket. We note which side is which, because the sender and the receiver fail for different reasons.
2. Alignment and the brackets they sit on
The sensors live on light sheet-metal brackets screwed to the vertical track. A bumped broom, a bike against the track, a shifted bracket from years of use: any of these can throw the beam off by a hair. We check the brackets for a bend, loosen the wingnuts, and sight the sensors in by eye and by the indicator light.
3. Dirt, cobwebs, snow and low sun on the lenses
A film of garage dust or a cobweb across the lens drops the beam. In winter, a crust of ice tossed up by a tire can land on a sensor and freeze there. A low afternoon sun shining into one lens can look like a signal loss. We clean the lenses, check for sun angle at the time of day you first saw the fault, and swap the sensors side for side if we suspect sun blindness.
4. Wiring along the wall and at the opener terminals
The sensors are low-voltage, usually wired with two-conductor bell wire stapled along the jamb to the opener. We walk the wire for a staple driven through it, a splice twisted together without a wire nut, or a chewed section behind an old shelf. At the opener, we open the terminal cover and look for a loose or backed-out wire.
5. The opener's own reversal setting and a test on the floor
An opener's close force can be set too sensitive. The door touches the floor, the opener reads it as hitting an object, and up it goes. We check the setting against the door, then lay a two-by-four flat on the floor in the center of the opening and close the door on it; it should reverse on contact. If any part fails, we go back through the earlier checks.
| Symptom | Likely cause | What it usually needs |
|---|---|---|
| One sensor light out | Loose wire, broken sensor, bumped bracket | New wiring, a replacement sensor, or realignment |
| A sensor light blinking | Beam almost but not quite lined up | Realignment at the bracket |
| Door reverses at the same height every time | A bracket that drifted or a wire pinched by a shelf | Realignment or new wire |
| Door closes only while the wall button is held | Sensors flagged out of service, so the opener forces a watched close | Sensor repair or replacement |
| Door reverses on sunny afternoons only | Low sun shining into one lens | Swap the sensors side for side, or add a shade |
| Opener has no photo eyes at all | A unit from before sensors were standard | A newer opener, covered on our new opener installation page |
Each of those paths runs through parts a technician carries, which is why we send someone out instead of talking you through a search for a bend in the bracket.
Repair or replace
When we repair the sensors you have
A clean, aligned pair of sensors on good wire is often the whole fix. If one sensor is dead and the other is fine, we replace the dead one with a matched part and tune the alignment to the live one. A kinked wire gets replaced on that run only. We prefer to keep working parts in place when they test clean.
When we suggest new sensors or a new opener
Both sensors cloudy with age, melted lens housings, brittle wire, or terminals corroded green: at that point a new pair of sensors costs less than chasing the old pair across more visits. On an older opener with no sensors at all, there is nothing to repair, and the choice is a safer opener. Our opener repair page covers the opener itself.
At the door we tell the two apart by what we find on the brackets and in the wire. A readable part number on the sensor and a known opener model usually means repair with matched parts. A sun-faded sensor case with the label gone, wire stapled through in two places, and an opener older than the people on the call remember usually means replacement.
What a technician brings
Most sensor visits go out with a universal pair of photo eyes that fits a wide range of openers, a short roll of two-conductor low-voltage wire, extra wire nuts and insulated staples, spare brackets and wingnuts, and a torpedo level for alignment. We bring a two-by-four for the reversal test and spare opener terminal screws. Those parts on the van mean most sensor visits finish in one trip.