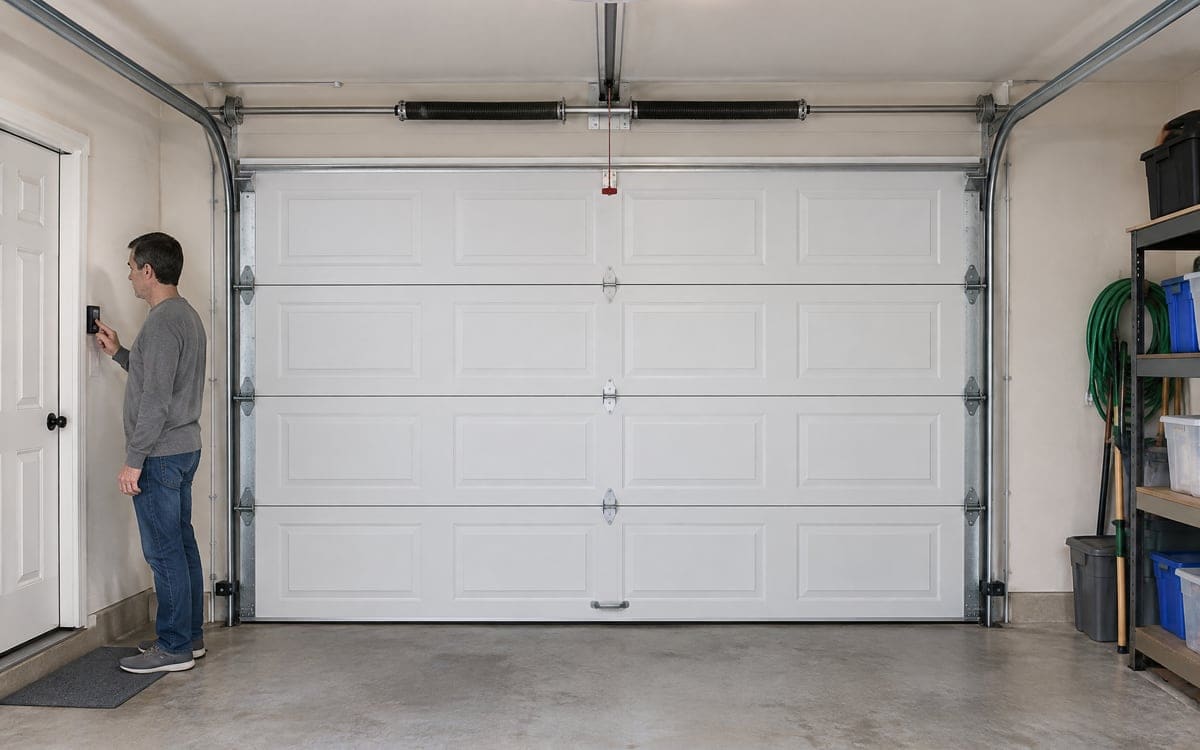
A door that seems fine still gets a monthly look
A garage door is one of the biggest moving parts in a house and the one that gets the least attention. Most door failures send a warning first: a new noise, a sensor that flickers, a seal that pulls loose at a corner. The failure comes later when nobody caught the warning. A short monthly look is for catching those.
A monthly cadence is enough on a door in reasonable shape, and more often does not hurt on an older one. About 63 percent of Hoffman Estates housing units were built before 1980,1 per the Census Bureau's ACS 2024 5-year table B25034.
Start by looking at the door
Close the door. Stand inside the garage, several feet back, and look at the whole door. Then step outside, close the garage with the opener, and look at the outside face.
What you are looking for from inside: a visible gap in the coil of the spring above the door (do not touch, just look), fraying or kinks on the lift cables near the bottom corners, rust at the bottom brackets or along the inside of the lower track, cracks or splits at a hinge, and the two small lights on the photo-eye sensors (one on each side, a few inches off the floor).
What you are looking for from outside: a strip of daylight at the bottom corners (seen more easily at dusk with a light on in the garage), dents or creases in the sections, cracks in a wood door's bottom section, and whether the door sits level across the floor.
Hands stay in your pockets. Nothing on this list requires touching the door.
Watch one full run from inside the garage
Stand several feet back and inside, press the wall button, and watch the door run from closed to open. Then press it again and watch it close. Run both directions once each.
What you are watching for: whether both sides of the door come up at the same rate, whether the door hesitates at the same height on each pass, whether anything bangs or snaps along the way, and whether the opener's light flashes at any point. A door that lifts one side faster than the other, stops and starts in the middle, or reverses on the way down for no obvious reason is a signal that something is wearing or out of adjustment.
Do not stand under the door, ever. Watching from inside the garage, several feet back and out of the door's path, is the right position.
Listen for the new noise
A door makes noises; most of them are the same noises it made last month, and the one worth noticing is the new one. A pop at the start of the lift, a high-pitched squeal at a certain point in the travel, a grinding sound when the door reaches the top, or a clunk at the opener head are each worth noting.
If a new noise shows up, note where in the travel it happens. That tells a technician a lot about where to look. A noise at the very start of the lift usually points at the spring or the bottom bracket, a noise in the middle at a roller or a hinge, and a noise at the top at the opener or the end of the track.
For the common pattern, a spring with a gap in it is the one that announces itself with a bang; a frayed cable often shows up as a different kind of grinding at the start of the lift.
Test the sensors from the wall button
The two photo-eye sensors near the floor should both have their indicator lights on. From the wall control with the door closed, press the button to open the door and then to close it. As the door starts to close, pass a broom handle or a long shoe across the floor between the two sensors so the beam breaks from the side; the door should reverse immediately, after which pressing the button again opens the door back up.
If the door does not reverse when the beam is broken, the sensors are not doing their job. Stop using the opener for anything other than a visit from a technician. Sensors that fail the check often need alignment, a wiring repair or replacement.
Cleaning the lenses is a reasonable homeowner job. With the door closed and still, wipe each lens with a soft cloth. Do not bend or re-aim the brackets; that is a technician's work.
The reversal check with a two-by-four
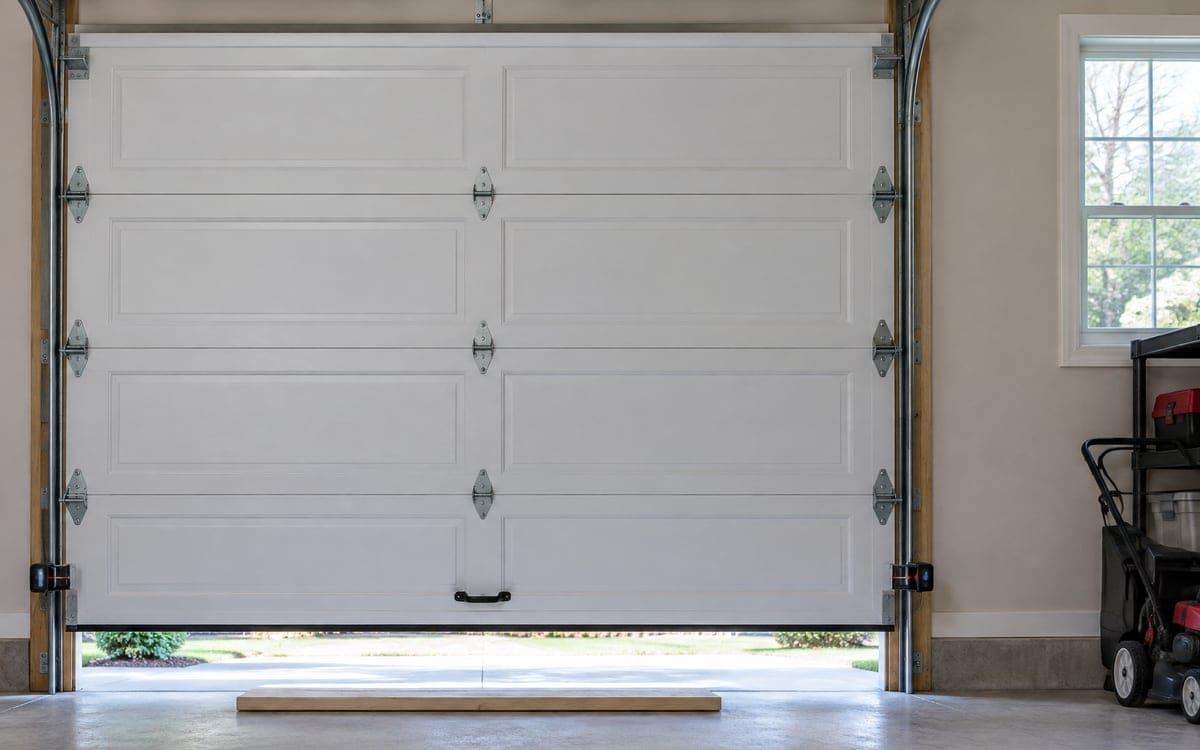
Close the door. Lay a two-by-four flat on the floor in the center of the opening, below the sensor beam, where the door will land. Stand several feet back, inside the garage and out of the door's path, and press the wall button to close.
When the bottom of the door touches the board, it should reverse within a second or two. If it reverses, the opener is reading the contact and the reversal setting is working. If the door keeps pressing down on the board, or stops without reversing, stop using the opener and call. An opener that will not reverse needs a technician to look at the door's balance, since the setting at the wall is not the real fix.
Do not adjust the opener's force or travel yourself. Those settings sit behind the opener's own guardrails and should be set by someone who knows how the door is balanced.
| What you check | How you check it | What a fail means |
|---|---|---|
| Spring, cables, brackets | Look only, from several feet back | Stop using the door and call |
| Door running up and down | Watch one full run, both ways | Note where the hesitation is |
| New noise | Listen through one full run | Note where in the travel it happened |
| Photo-eye sensor lights | Look at each sensor, door closed | A dark light needs a cleaning or a technician |
| Sensor beam | Break the beam with a broom while the door closes | Door should reverse immediately |
| Reversal | Two-by-four laid flat on the floor, close from the wall | Door should reverse on contact |
| Bottom seal | Look at the corners with the door closed | Daylight at a corner means a torn or worn seal |
Every check in the table runs from the wall button or from inside the garage, several feet back and clear of the door.
Snow and salt season adds two checks
Through the Hoffman Estates freeze season, which starts around the normal first freeze on October 19 at Chicago O'Hare2 and runs into April, two more items join the list.
First, check the bottom seal after the first storm and after every stretch of melt. A torn bottom seal lets slush pool against the bottom of the door, which is where salt does its worst work. Second, rinse the salt off the garage floor and the bottom of the door with warm water, not a pressure washer, after the last snow of the week. Salt at the foot of the door covers the rest of the salt routine. For how springs behave through that same stretch, springs before the freeze is the companion piece.
If the door freezes to the slab in the morning, leave it. Do not force it with the opener and do not try to pry it up by hand. The seal will often release on its own as the day warms. If it does not, call.
What you should never adjust
The clear don'ts, in a short list:
- The emergency release cord. Leave it alone. On a door with a broken spring, pulling it drops the door's full weight on the floor through you.
- The torsion springs or extension springs. Both are under tension; the torsion spring is wound tightest with the door closed.
- The lift cables, drums or bottom brackets. All three sit under spring tension when the door is closed.
- The opener's force or travel settings. Those are set to the door's balance; the balance is a technician's measurement.
- Any part of the door while standing on a ladder or stool near the loaded hardware. Nothing a homeowner can do belongs on a ladder near the springs or cables.
The balance check is the piece of a tune-up and safety inspection that only gets done on a visit; the monthly check covers everything else from the wall and from the floor.
Keep a short note of what you saw
A kitchen-drawer notepad is enough. For each monthly check, write the date, whether the sensors passed the beam-break test, whether the door reversed on the two-by-four, any new noise, and anything that looked different from last time. Three lines is enough.
The note helps you catch patterns. One month of a new grinding sound is nothing on its own; three months in a row, with the sound getting louder, is a pattern worth catching early. A technician's visit at the pattern stage is cheaper than a visit at the failure stage.